Wedding costs can quickly spiral out of hand – a few DIY projects can be fun and help keep your budget in check. Making your own wedding dress might be too much to tackle, but these simple and elegant table number cards can be made for under $20 and personalized to your wedding color theme. I made them for my own wedding and was thrilled with how they turned out.
Supplies Needed:
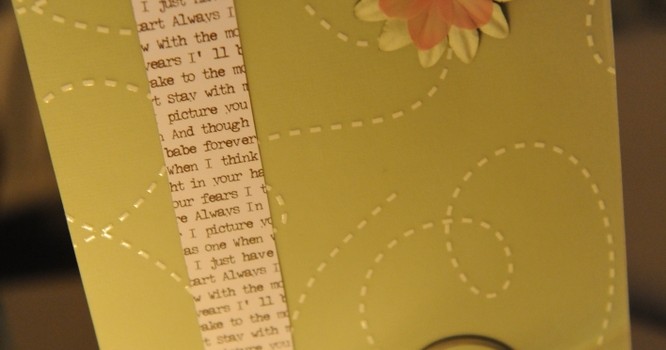
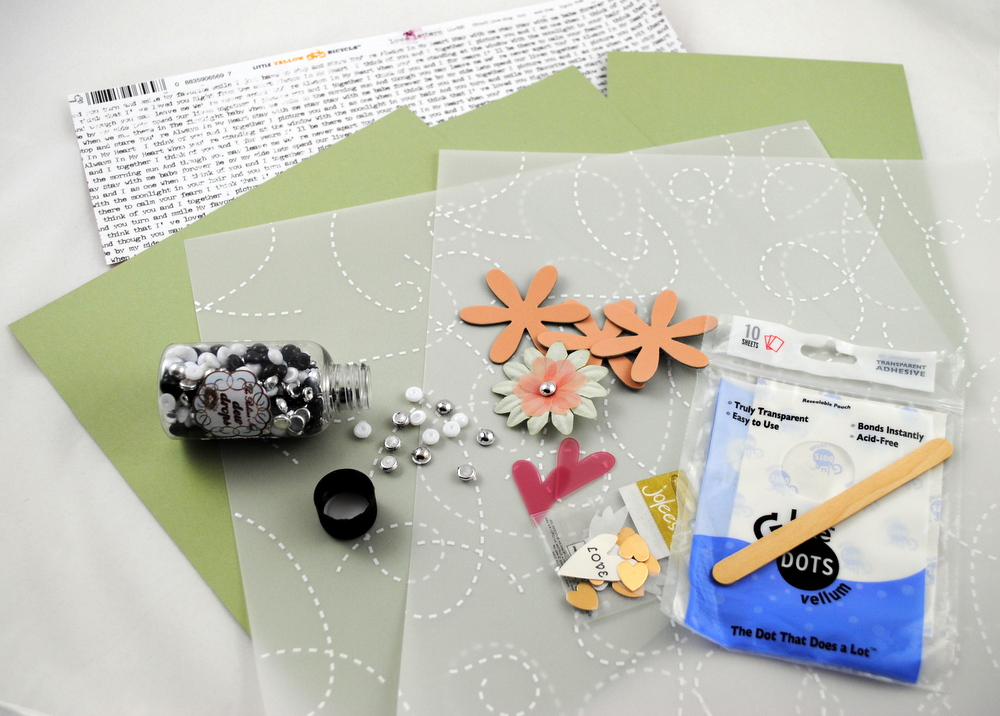
- Vellum sheets to layer on top.
- Smooth card stock in the color of your choice. When picking card stock, hold the vellum sheet you chose on top. The color will be less pronounced with the vellum, so pick a shade darker than your exact wedding color.
- Paper with wording. I chose a love theme for my paper.
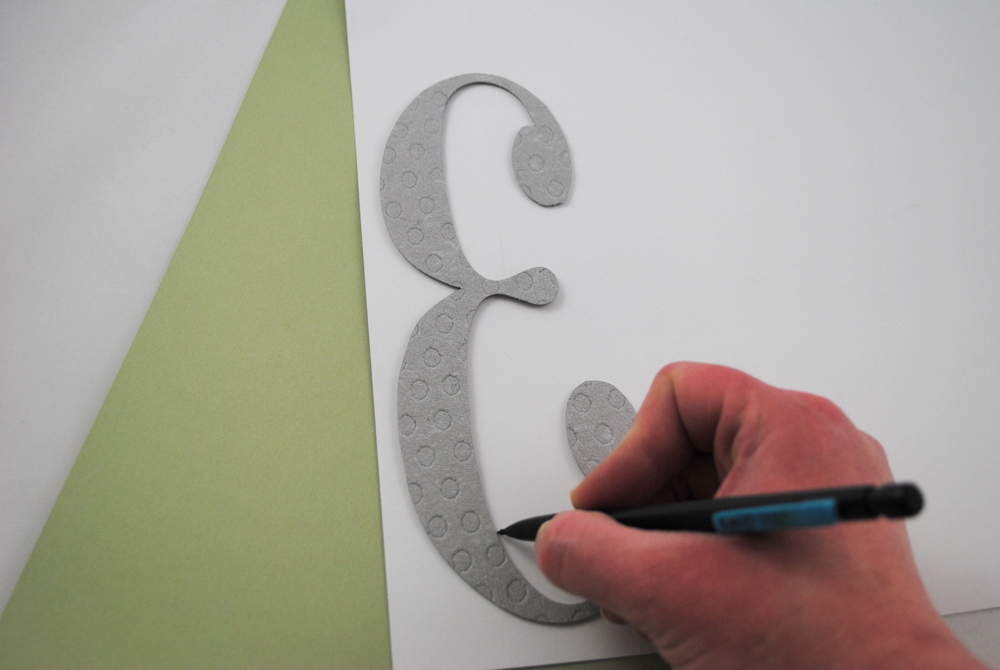
- Large numbers. I used stencils because I already had them for scrapbooking, but you can create your own template. Use a word processor, choose the font, and print numbers on thick paper to cut out.
- Glue Dots for vellum
- Popsicle stick
- Glue
- Scissors
- Paper cutter
- Embellishments
Instructions:
Step 1
Gather your materials.
Step 2
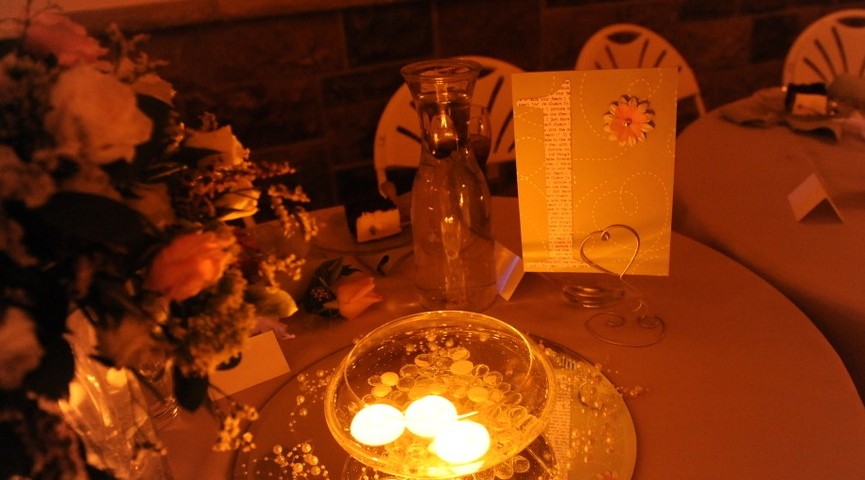
Using a paper cutter, cut your card stock and vellum sheets to the size you desire. Mine are 8 1/2″ x 6″, but you can make them any size. Make sure that your table number holder can support the size you choose – you don’t want your table number falling into a lit candle during your reception!
Step 3
Using a stencil or template, outline the numbers on the back of the paper with words. Invert the number so that when the text side is showing, your number is facing the right way. Cut out each number.
Step 4
Cut the Glue Dot sheets in 1″x 1″ squares. Cut eight squares for each table number card – four for the corners and four centered on each side between the corners.
Step 5

Stick the glue dot squares to one of the vellum sheets using a Popsicle stick (or your fingernail). Rub gently to adhere the dots well. Once you have Glue Dots on all four corners and in the middle of each side, line up the vellum sheet with the card stock and press into place.
Step 6
Attach the cut out table number to the vellum sheet using glue. Add embellishments – flowers, hearts, ribbon or whatever you want.
Enjoy your lovely creation at your wedding!


« Better Together: Minter & Richter Designs Pinterest Tips to Increase Etsy Shop Traffic »