This tiny journal measures just over 1” and is perfect for a mini-album to let your love know that you are thinking of them.
Let your journal tell the story of how you met the love of your life, your first kiss, or any other memorable event. Create this journal and then personalize it with pictures, special words, poems, song lyrics, etc.
This itty-bitty journal is a great project that is quick and can be done with items that are commonly found in most homes. It is great for special handmade Valentines, party favors, and stocking stuffers. You may make the journal bigger if you wish by using larger wooden craft pieces and a longer piece of craft paper.
Supplies needed:
- Double sided craft paper
- Buttons
- String, embroidery thread or yarn
- Pre-cut wooden craft pieces—1 ¼” square
- Fine sandpaper—150 or 200 grit
- Paint
- Paintbrush
- Ruler
- Scissors
- Glue
Instructions:
Step 1
Measure and cut:
One 1” x 12” piece of craft paper


One 6” piece of string, yarn or thread


Step 2
Using ruler, measure and fold paper at every one inch.
Bend the paper in opposite directions in order to make an accordion.


Step 3
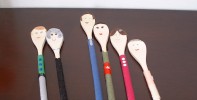
Choose two wooden craft pieces.

Lightly sand both pieces.

Step 4
Paint all sides of both wooden craft pieces.

Let dry completely.
Step 5
Choose two buttons, making sure that the smaller button will fit in the larger button and leave a rim large enough to accommodate the string, yarn or thread you chose.

Ideally, the larger button will have a bit of a rim on it so that the smaller button fits snugly inside.

Glue smaller button to larger button.
Step 6
When the paint is completely dry on the wooden pieces, glue paper to wooden piece making sure that the paper is centered.


Repeat step on other side.

Step 7
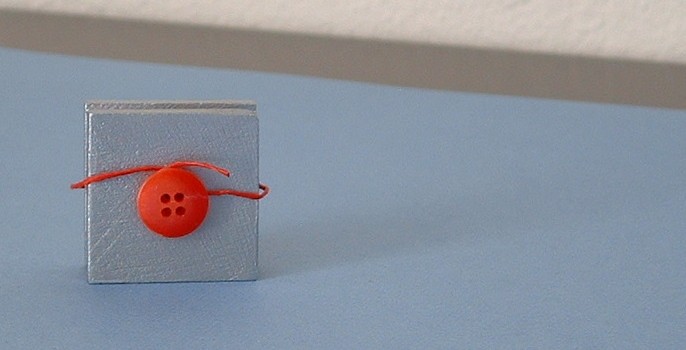
Unfold the accordion. Holding one end of thread, yarn or string in the middle of one wooden craft piece, glue button in center of wooden craft piece making sure that the string is underneath the button firmly and that the string runs parallel to the accordion paper.

Hold button in place for several minutes. Set aside and let glue dry completely.
Step 8
When glue is completely dry, wrap string around the journal and secure by wrapping around button.

Now your journal is ready to give or personalize with photos and words.