07 Feb Basic Product Photography
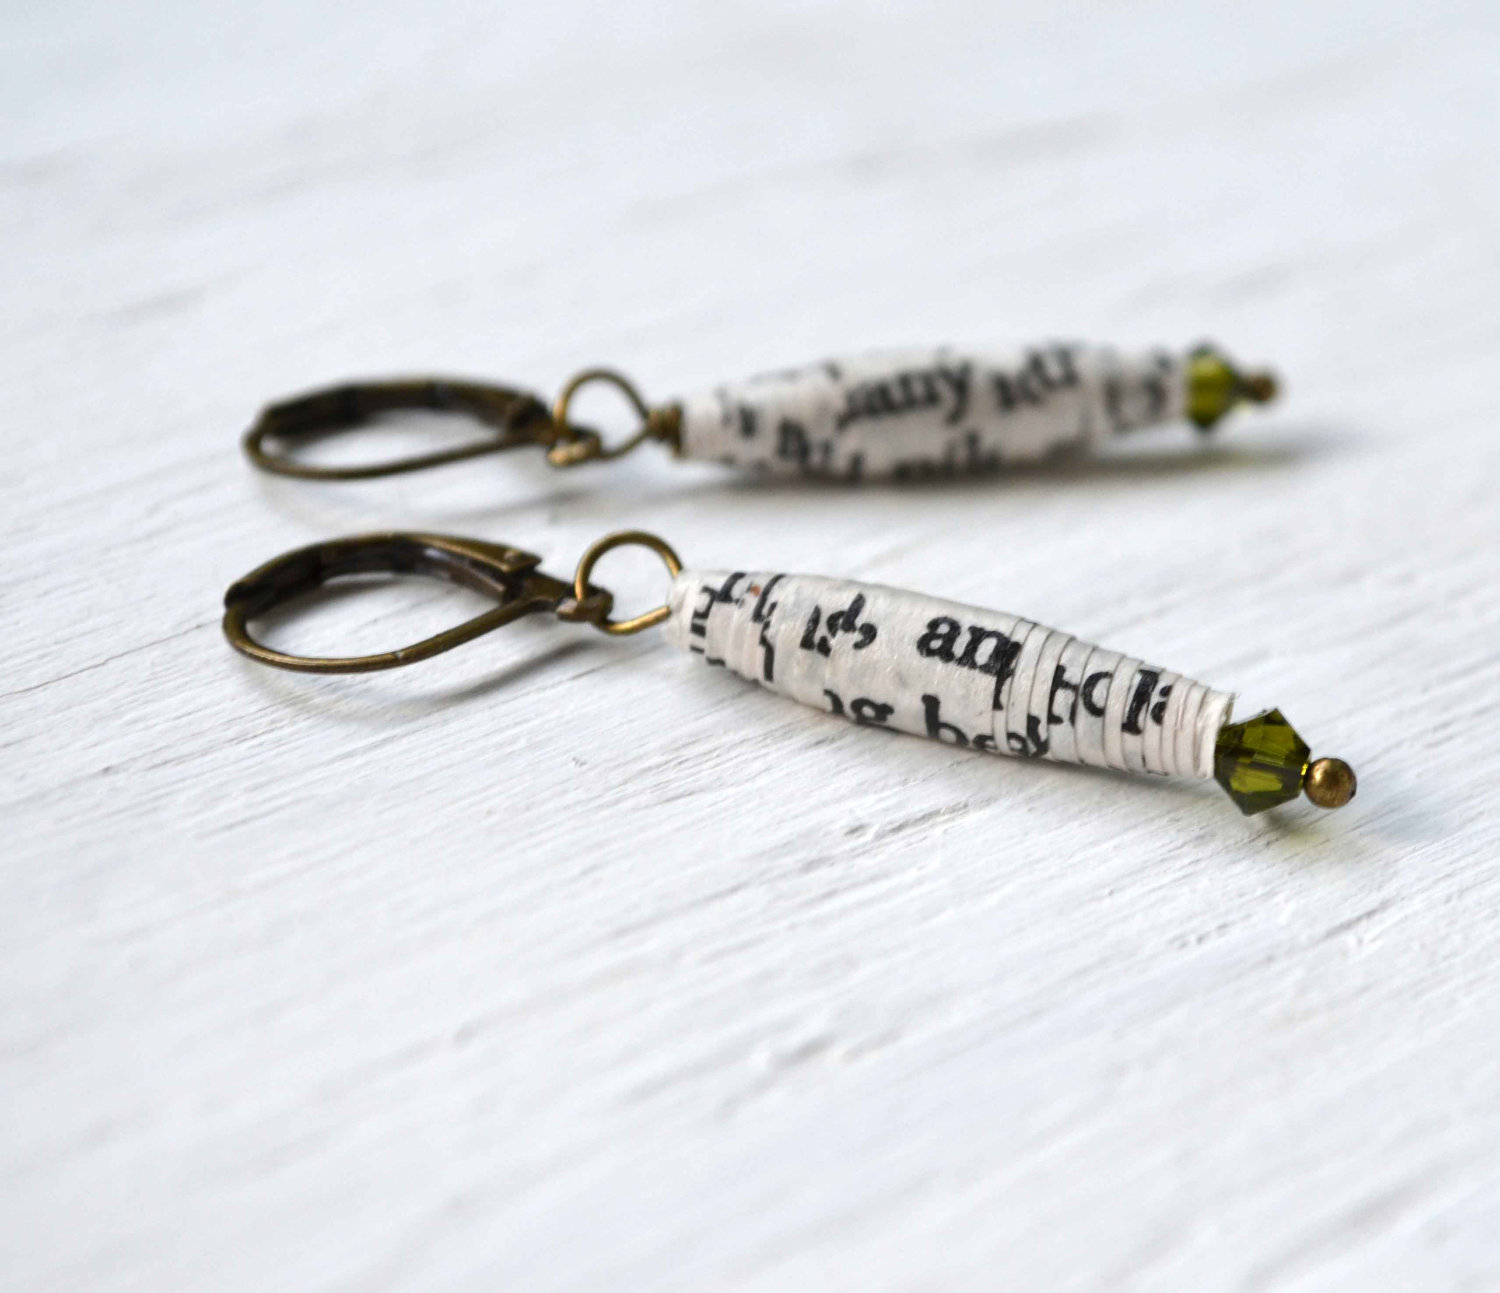
Megan Adkins of The Light Project has worked hard to master the art of product photography. Many of her jewelry items are finely detailed, requiring exquisite lighting and camera skill to show off their beauty. Megan joins us in this guest article with some tips to get your photos on the right track.
[hr]
Photos are a critical part of marketing your online business. Customers can’t hold your item or try it on, so photos are their only connection with the product before making a purchase. They want to see clearly what they’re getting. Here are my top tips for achieving beautiful, Etsy-worthy photos:
Use natural, indirect light
Natural, indirect light is essential; you don’t want your products to be washed out or so bright that they’re hard to see. Find a nice shady spot in the morning or middle of the day, or find a north-facing window to get that beautiful indirect sunlit look! Find a place with even lighting so you do not end up with shadows or dark spots. If you don’t have a good place to take photos, consider purchasing or building a light box.
 Use a white or neutral background with minimal texture
The main focus of the photo is your product, not your kitchen counter or old blue jeans. Find a solid, neutral surface that will allow your product to stand out clearly. I use a large piece of plywood that I painted white for all of my photos. It has a nice wood texture, but it’s not too distracting. My jewelry really pops against it.
Use appropriate props
This is the trickiest part of product photography – props can either clutter your photo or enhance the product. Inappropriate props can look like an item for sale themselves, leaving the customer unsure of what you’re selling. Props blended into the background or cut slightly out of frame can give more interest to your photos. I’ll occasionally set a pine cone or other neutral item in the background of my photo for a little contrast.
Get a shot from as many angles as possible
On Etsy, we can post 5 photos per product – use them all! This gives your customer the most options for viewing your amazing product. Seeing the different sides of your product will give customers more confidence in their purchase. More pictures also lead to more time spent browsing your shop, which improves your chances of getting a sale!
Be yourself!
This is corny, but I believe that using your own talent and style with photography reflects your products and art. You might be in a category on Etsy that’s over-saturated, but great pictures that represent how you feel about your product will make you stand out. It helps to do some research and see how other successful shops are displaying their items in photos. Get inspiration from the pros and apply it to your own creative style.
[author] [author_image timthumb=’on’]https://beta.brittanysbest.com/wp-content/uploads/2013/02/Megan-Adkins.jpg[/author_image] [author_info]Megan Adkins is an artist, designer, vegetarian (asp
Get my latest articles straight to your inbox about once a month. Learn how to improve your Etsy shop, boost your sales and discover other sellers from the Etsy community.


Cherie
Posted at 15:32h, 15 MarchThanks for the suggestions.